Just about every project I do that requires a micro-controller is powered by either an Atmel Tiny85 or Mega328. The ATmega328 is of course the chip that powered the amazingly popular Arduino Mega, Uno, and Nano boards. Where as the ATtiny85 is what powers cool little boards like the DigiSpark and Adafruit Trinket. The Atmel company was absorbed by the Microchip Technology company in 2016, but the branding for many of Atmel’s chips remain mostly unchanged, though there is some misinformation floating around regarding some of the codes used to identify specific chips.
The biggest issue I see in online reviews, and a few other places, concerns the “P” identifier, such as in the ATmega328P-PU chips used on Arduino boards. The P before the dash indicates it’s a “Pico Power” version meant for low powered circuits, but the P after the dash simply indicates the package type and means “Plastic”. The problem is there are also ATmega328P-U chips used on Arduino boards and available for purchase, leading people to think these were fake because they don’t show up in official Ateml datasheets. The same goes for the ATtiny85-20PU vs ATtiny85-20U, the info AFTER the dash has nothing to do with power, but many people believed the P in 20PU meant “Pico Power”, when in reality it only means “Plastic”, just like on the Mega328.
The issue arose because at some point Microchip decided to drop the package type identifier, meaning the ATmega328P-PU became the ATmega328P-U and the ATtiny85-20PU became the ATtiny85-20U. Just in case you’re wondering, the “U” indicates the operating temperature range of the chip, -40C to +85C. So, the “PU” and “U” chips are all the exact same chip, the ones without the “P” after the dash are simply newer.
In case you’re wondering, even I was a bit confused at first when I had ordered a couple tubes of both chips before they became almost impossible to find, so I reached out to Microchip and they got back to me explaining everything I just passed onto you. So, if you’re shopping for these chips, I hope this helps clear up any confusion.
Moving on, before I decided to forgo
using Arduino Nano units to power all my projects, and just use the
chips themselves, I had stocked up on a few sets of Elegoo Nano
units (and before prices went crazy), so many of the prototypes you see on here will be powered by
those Nano units instead of the chips. When I did make that change, I
also had to decide how I was going to write the necessary bootloader
and whatever data I wanted to the chips, and that’s what I am
covering here. This won't be a tutorial, there are plenty of good ones out there already, this is just a quick overview of the tools I use to get the job done.
Starting with the ATtiny85-20U, I
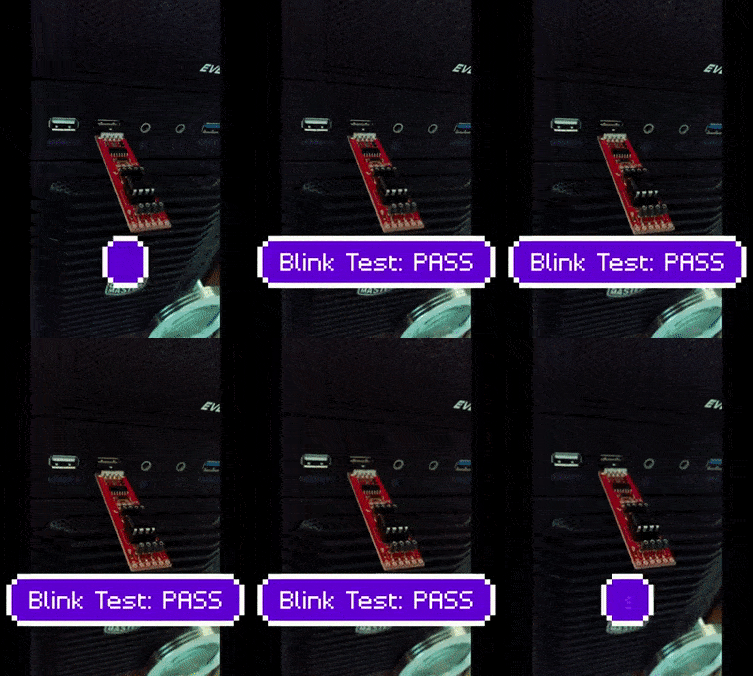
decided to keep it simple and ordered a Tiny AVR Programmer from
Sparkfun. They are compatible with both the Tiny85 and Tiny45 chips,
are convenient USB sticks, and can connect to the chips either via
the included socket or via jumper wires directly to your project.
It’s fully compatible with the Arduino IDE that I’m already
familiar with and works fine in both Windows and Linux (Ubuntu 20.04
in my case). Getting it up and running is incredibly simple and
Sparkfun provides full easy to follow instructions on their website
to guide you should you need it. I highly suggest reading it!
Learn: https://learn.sparkfun.com/tutorials/tiny-avr-programmer-hookup-guide/
Buy: https://www.sparkfun.com/products/11801 or https://amzn.to/3PbgP7U
Next, I decided to put an extra Arduino Uno I had lying around to use as the programmer for my ATmega328P-U chips. So I ordered a simple DIY "Canaduino" Arduino Shield with a ZIF socket from a company called Universal-Solder, so I could quickly and easily program my chips and put the extra Uno to use. Again, it’s quick and easy to build and get working and I can still use Arduino IDE since all this does is allow you to move the ATmega328P off the Uno and to the ZIF socket.
Buy: https://universal-solder.ca/product/canaduino-zif-socket-arduino-programming-shield/ or https://amzn.to/3dlX6VO
Both of these tools allow me to quickly and easily program both the Tiny85 and Mega328 chips I use in almost all of my projects. Doing it this way saves space and money when compared to using an Arduino Nano like I was in the beginning, and gives you more control over your final circuit design.
The ATtiny85-20U and PU, and the ATmega328P, can run between 1.8V and 5.5V. Also, depending on your specific needs and setup, you can run them without a clock crystal. When I use the Arduino Nano, they are all powered using a 9V battery, the Nano's built in regulator steps the voltage down to 5V. When I just use the chips themselves, I can use 2 or 3 AA or AAA batteries, depending on the demands of my circuit as a whole. If my circuit still needs more power, I can use a simple L7805 voltage regulator and a couple smoothing capacitors to supply 5V from a 9V or other battery, depending on my needs.
If you're going to be programming a lot of ATmega328P or ATtiny85 chips, then I highly recommend one of these tools, or something similar. They made the process easy and save a lot of time.
Thanks for reading!


